Connections
Refer to the Location and functions of parts which shows the locations of the connectors on the Mini-Tx UHD.
Attach a Mini Tx UHD to a camera
Use an appropriate BSI camera back to attach the Mini-Tx UHD to the camera.
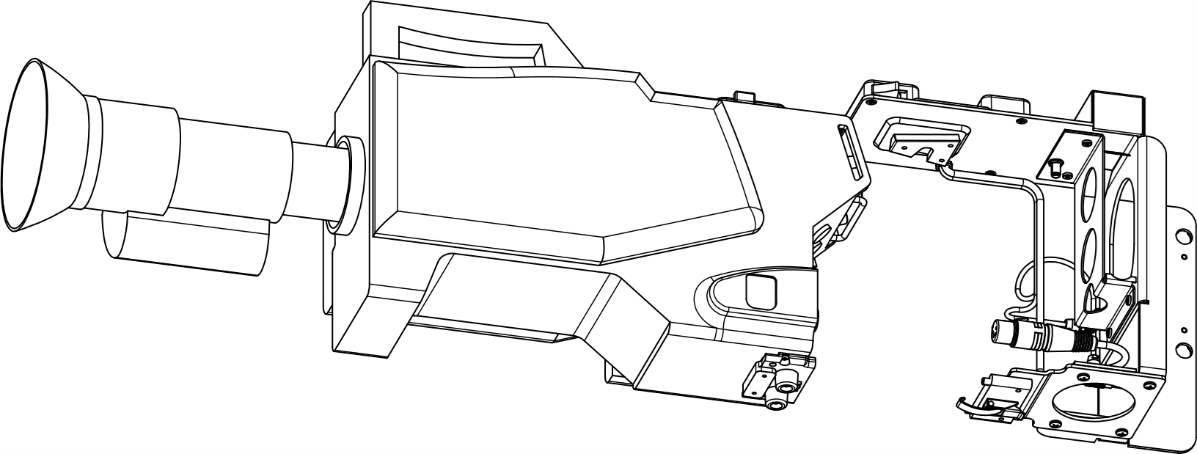
The following procedure describes how to attach a Mini-x UHD to a Sony camera using a BSI camera back (20005-9-002).
- Attach the shoe assembly, V edge (1), to the camera using four M3 x 10 screws.
Alternatively, attach a BSI camera shoe (3) to the camera using four M3 x 10 screws.
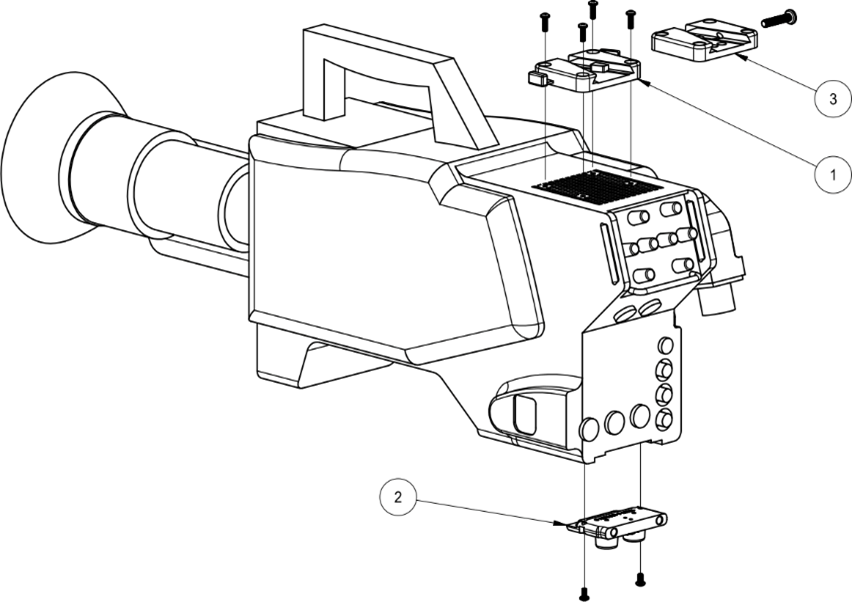
- Attach the lower hook (2) to the camera using two M3 x 6 screws.
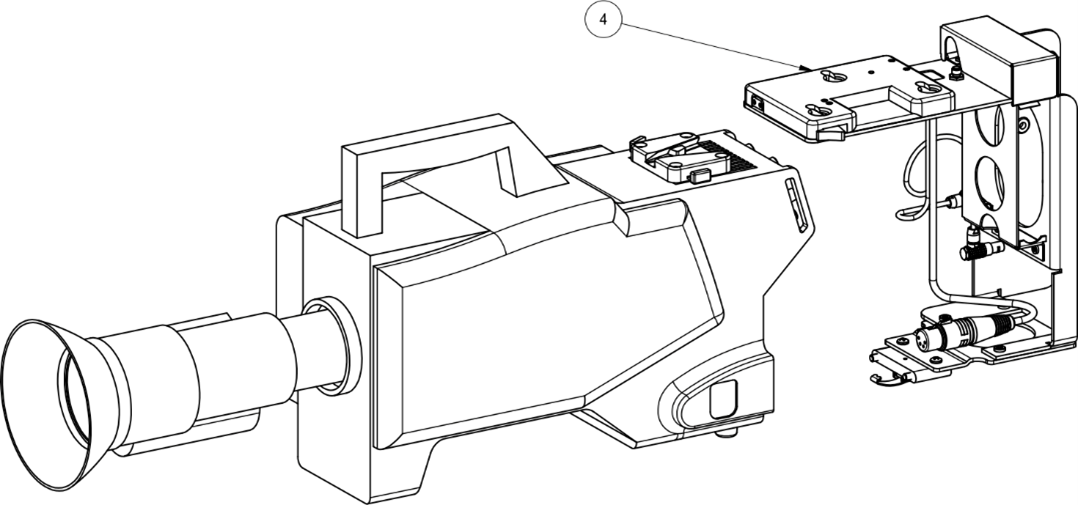
- Attach the camera back (4) to the camera. To do this slide the V wedge on the camera
back into the shoe assembly and the lower mounting block into the lower hook. If you are
using a BSI camera shoe, secure the V wedge with an M5 x 25 screw.
-
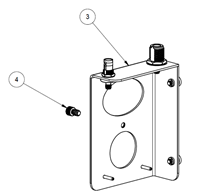
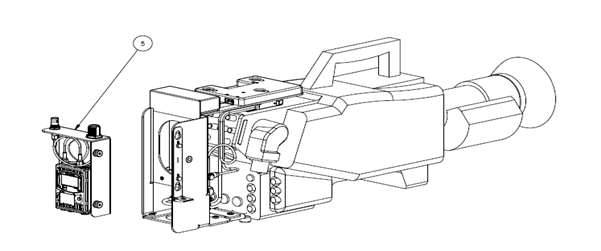
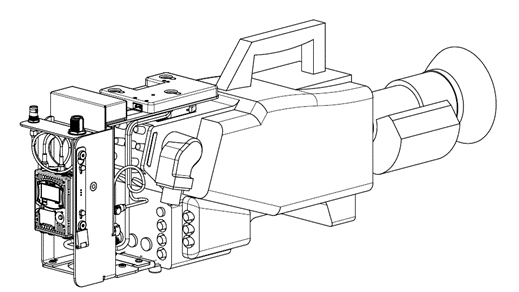
Attach mounting studs to the side of the Mini-Tx UHD (5) using M5 x 15 flat head socket cap screws.
- Align the mounting studs with the holes in the mounting bracket and engage the Mini-Tx
UHD (5). Push the transmitter latch up and close the safety latch.
- Attach the battery (6) to the camera back.
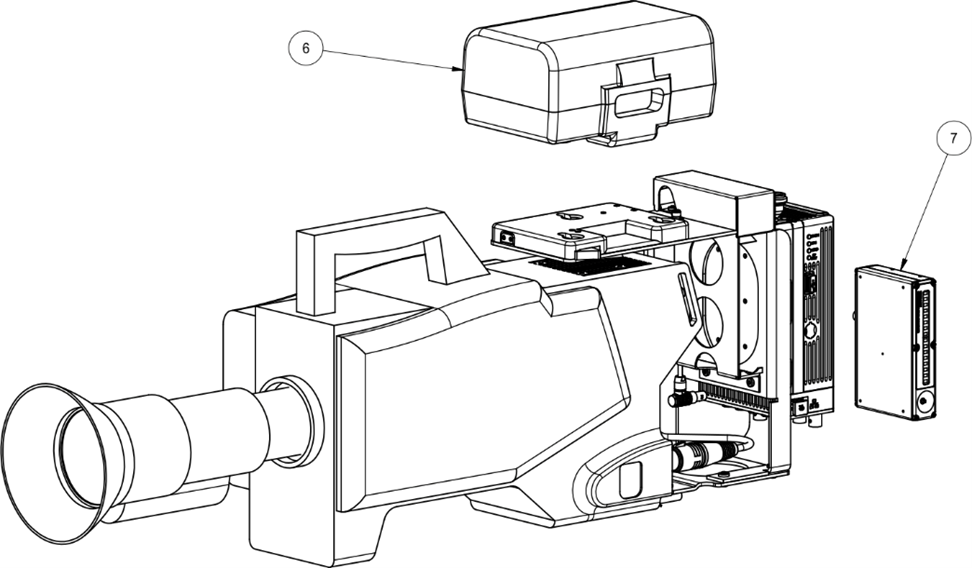
- Insert the return video receiver (7) into the slot in the camera back. The receiver clips into place.
- Attach the power cables to the camera, Mini-Tx UHD, and return video receiver.
Attach Mini-Tx UHD to its camera back adaptor
- Attach cable assembly antenna (2) to the Mini-Tx UHD antenna connectors.
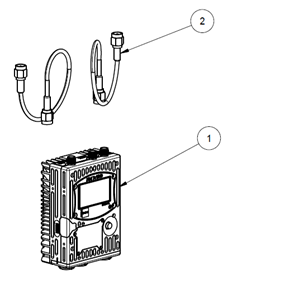
- Place the attached Mini-Tx UHD in its camera back adaptor (3) and secure it with the
20005-9-087 UHD screw.
